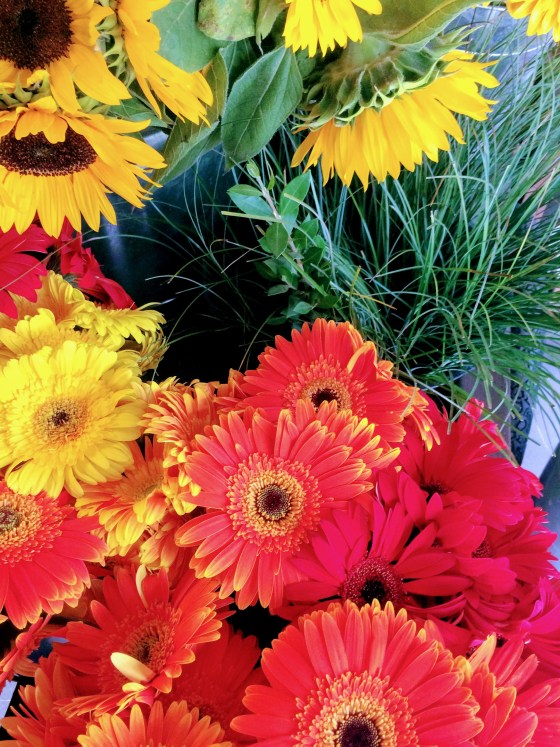
Happy Fall everyone! It’s September so I consider that Fall! The past few weeks I’ve been working on making my mantel into a Fall mantel and putting away a few Summer things. It’s always sad when Summer is over but also nice to move into a more productive Fall season.
To make my mantel into a Fall mantel, I wanted to really bring in some color. My mantel has been really neutral and earthy for a long time and I love it but I think its time for a little change. I created a ribbon frame art piece with some friends a few years ago for my daughters’ room and it turned out so well I thought the project would be fun to do on a larger scale.
I found a large white frame for this project and used a dark brown chalk paint to create a rustic look to the fame. I love working with chalk paint it is so easy, non toxic and covers really well. If you are interested in chalk paint techniques, check out this project I did a few years ago.
After painting the frame I chose five different types of ribbon, some fall colors, some lace, and some golden, thick and thin, different widths to mix it up a bit. I really wanted to give the frame some dimension and texture by using the different types of ribbon.
This fall mantel ribbon DIY is so simple. After you pick your ribbon colors, lay the ribbons out along the frame and cut to a little longer than the width of the frame. Begin to arrange them in a pattern that you like, try not to make the pattern too obvious. I think this project looks better if you mix up the different ribbons in more of a random way.
Once you have the ribbon in a pattern you like, slowly pick up the frame and turn it over. You’ll use the ribbon you laid in place to be the guide of your pattern so you can glue it in place. Remember to turn the ribbon over if it has a different texture that you want to show in the frame, you don’t want to glue the ribbon backwards.
Next, you’ll want to glue the ribbon in place on each side of the frame with hot glue. You’ll want to make sure you pull the ribbon tightly so that it doesn’t look loose in the frame.
After you glue each layer of ribbon in place you’ll want to trim the excess ribbon on each side. And then your piece is complete!
You can hang your ribbon art piece on the wall or use it to display pictures. I normally would display this piece vertically but as you’ll see in my Fall mantel makeover, I used a window so I didn’t want the two pieces to compete. I turned my frame horizontal and clipped some family photos to the ribbons using mini clothespins. I love how it turned out.
Check out my fall mantel makeover before and after and don’t forget to pin!! I like how the mantel is coming together. For more Fall DIY projects you can enjoy with your family or use to decorate your home, check out this post.
If you liked this project, subscribe to my newsletter via the bar located at the top of the page. I only email twice monthly and I send freebies often!


