

We are back from a week long vacation in Lake Tahoe and boy was it fun! The lake was very full and very blue, lined with a forest of pine trees and sandy beaches it was the ultimate Summer getaway! Our trip inspired this week’s watercolor tutorial, pine trees at the lake.
In this watercolor tutorial you’ll learn four different pine tree techniques and a very easy four-step process to paint a lake view of pine trees like the one above! This project is great for kids and beginner painters as well. You don’t need anything special just watercolors, water, paper and a small brush. If you would like to see my watercolor basic supplies recommendations check them out here.

So to begin, let’s practice some different watercolor pine tree techniques:
Pine Tree 1: Brushed. The first technique involves using the tip of your watercolor brush to create lines in a downward, angled pattern. Start with the left side, working your way downward, then repeat the process on the right side.
Pine Tree 2: Blobbed. The second technique is similar to Pine tree 1 but with much less precision. For this tree, move quickly and blob more water and brush downward to create a fuller, messier tree.
Pine Tree 3: Triangle. The triangle tree is very simple and involves painting an elongated triangle shape and filling in the center to make a full tree.
Pine Tree 4: Mix. The mix tree is a composition of Pine Tree’s 1,2 and 3. A triangular base with blob and brush stroke limbs.
Experiment with these four techniques and then your own pine tree will start to emerge. This is the part where art happens. Don’t forget to go back and add some simple trunks to your pine trees.

Watercolor Tutorial:
Step One:
After you have experimented with pine trees and created some that you like; go ahead and paint three simple pine trees on a blank piece of watercolor paper.

Step Two:
Add a yellow “sand” area, that comes up to midway of the trunk of the trees.
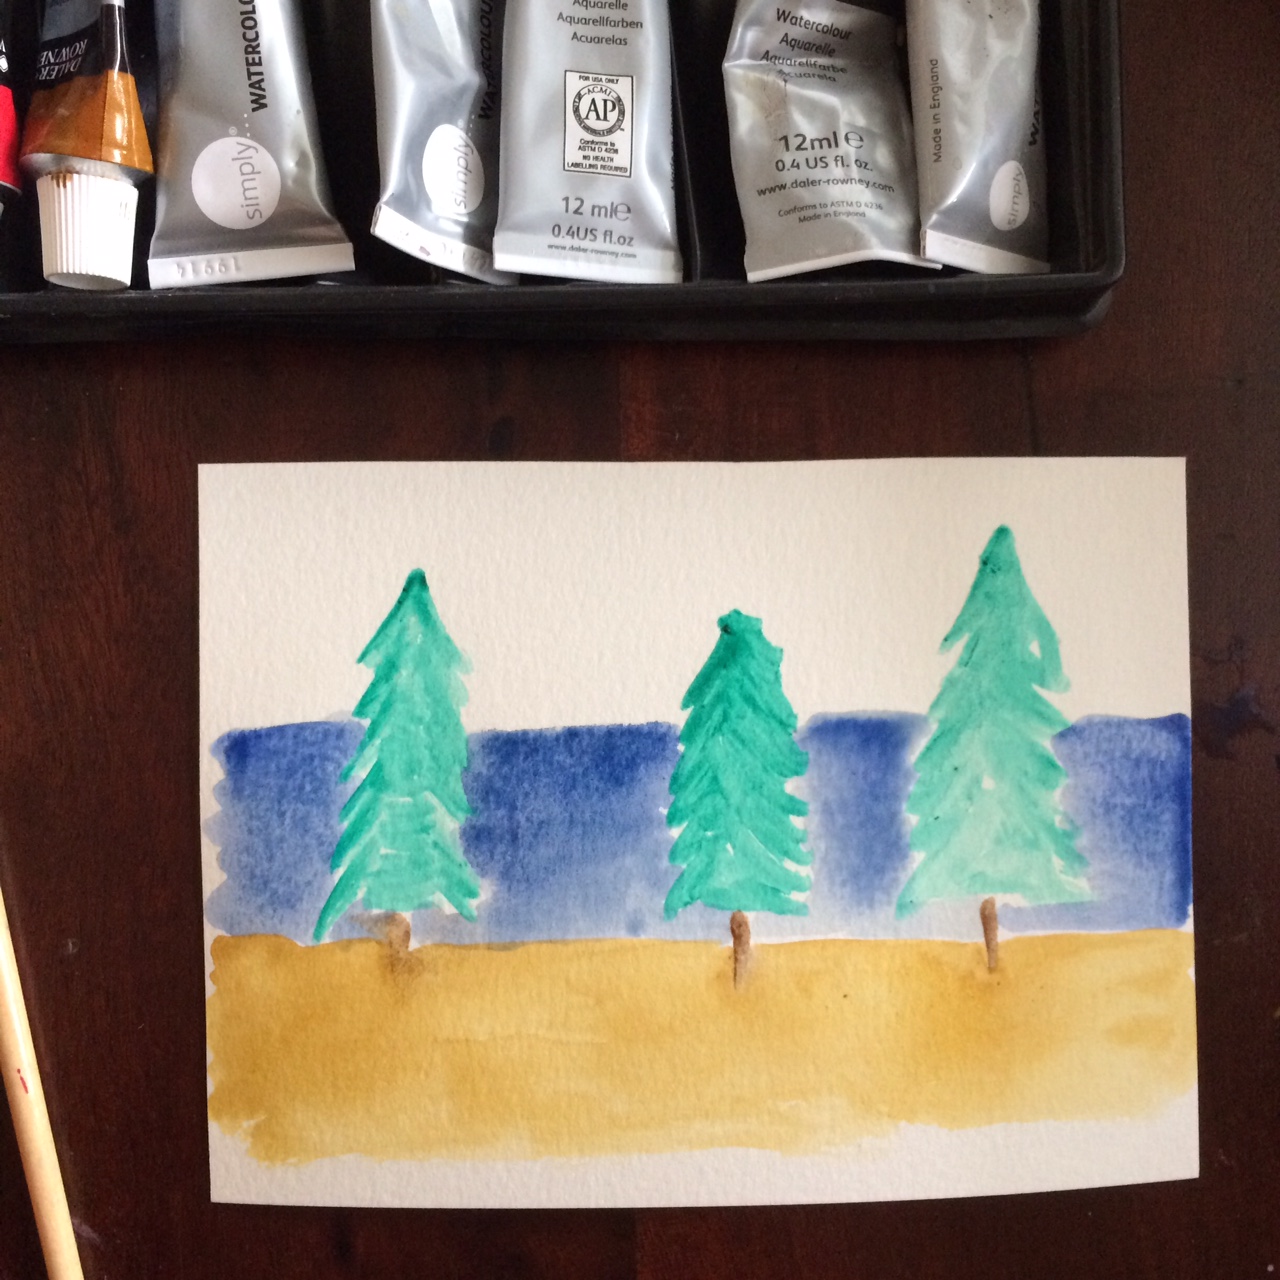
Step Three:
Add a blue background that does not reach the tops of the trees. This is the lake.
Step Four:
Lastly, let’s add some light grey mountains in the background.
There we have it, a lake beach pine tree scene. This is such a fun watercolor tutorial my girls had a blast learning about pine trees yesterday.
Don’t forget to check out my other art lessons, family DIY projects and Youtube videos! You can easily incorporate art into your everyday with your kids, check back often for more projects and tutorials.
Pin it for later!
